
Juni is thin-skinned and wide through the barrel, so for a long time every pad I put under her either slid forward into her withers or bunched up behind the cantle about a mile into a ride. I blamed the saddle for two years. Then a friend watched me tack up in the barn aisle and said the pad was fighting the saddle, not the horse. She was right, and I was annoyed about it for a week. Fitting a saddle pad is not complicated, but it is specific: the pad has to match the panel footprint of the saddle, clear the withers, and stay flat through a trot, a creek crossing and a mare's strong opinion about a plastic bag flapping on a fence line. This is the five step routine I use now with the TuffRider Basic All Purpose Saddle Pad. It takes about ten minutes the first time and three minutes after that.
Most pads get chosen on looks. I have done it, and I have the too long pad in the tack room to prove it. A pad that runs a couple of inches long will bridge across the loin, and a pad that runs short leaves the back edge of the panel sitting right on skin. Neither problem is visible when the horse is standing still in the barn. Both show up around hour two, when she starts humping up or swinging her head around at the cinch. Everything below is in service of one goal: even contact under the whole panel, no wrinkles, no gaps, no pressure in one spot.
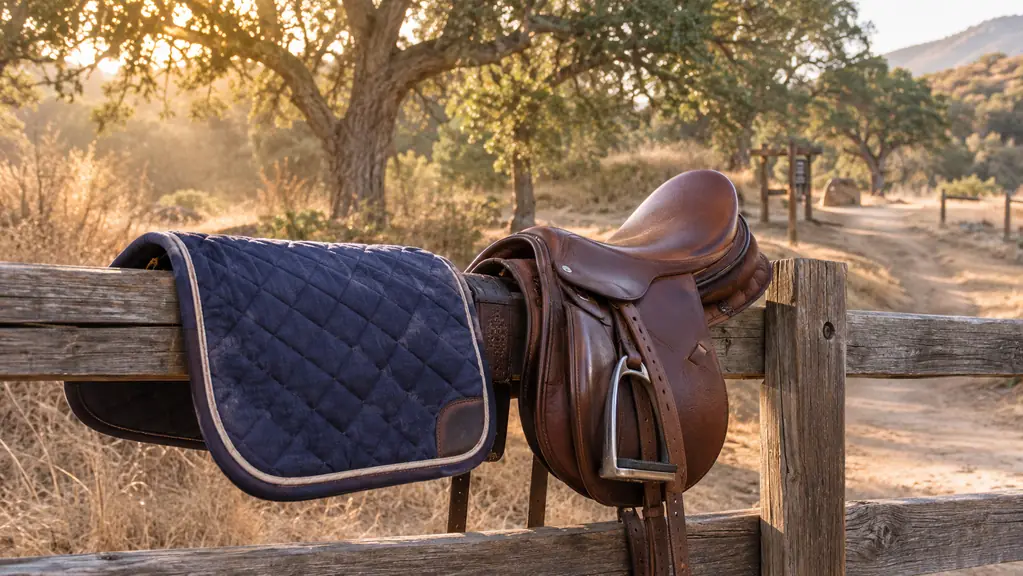
The pad that finally stopped sliding forward on Juni
TuffRider Basic All Purpose: diamond quilting on top, flannel against the horse, polyester lining between. A listed 19 1/2 inch drop, an 84 percent polyester and 16 percent cotton shell, and a shape built for a standard all purpose panel.
Amazon Check Today's Price on Amazon →Five Steps to a Pad That Stays Put
Step 1: Match the Pad to the Saddle Before You Touch the Horse
Take the saddle off the horse and set it upside down on a clean pad on the ground, or on a saddle rack if your back is older than mine. Lay the pad against the panels and look at the overhang. You want an inch or two of pad past the panel on both sides and behind the cantle. More than that is not extra protection, it is extra material to wrinkle and extra weight pulling the pad down at the back. Less than that and the panel edge is going to end up sitting on the horse.
I have gotten this wrong in both directions. Years ago I bought a pad longer than my saddle because the extra coverage looked generous. It bridged across Juni's loin within the first mile, and she told me by hollowing her back every time I asked for a trot. Laying it against the panels on the ground would have told me in ten seconds what took me two rides to figure out.
The TuffRider Basic is listed at a 19 1/2 inch drop and a 22 1/4 inch length, with overall dimensions of 28.5 by 27 by 1 inches. That is a mixed set of numbers, and it is a good reason to measure your own saddle instead of trusting a listing. On my all purpose saddle the drop lands where I want it, clearing the panel without hanging down past the shoulder. If you ride a dressage saddle or a close contact, the same numbers will read differently. Lay it on the saddle and look, is the whole point.
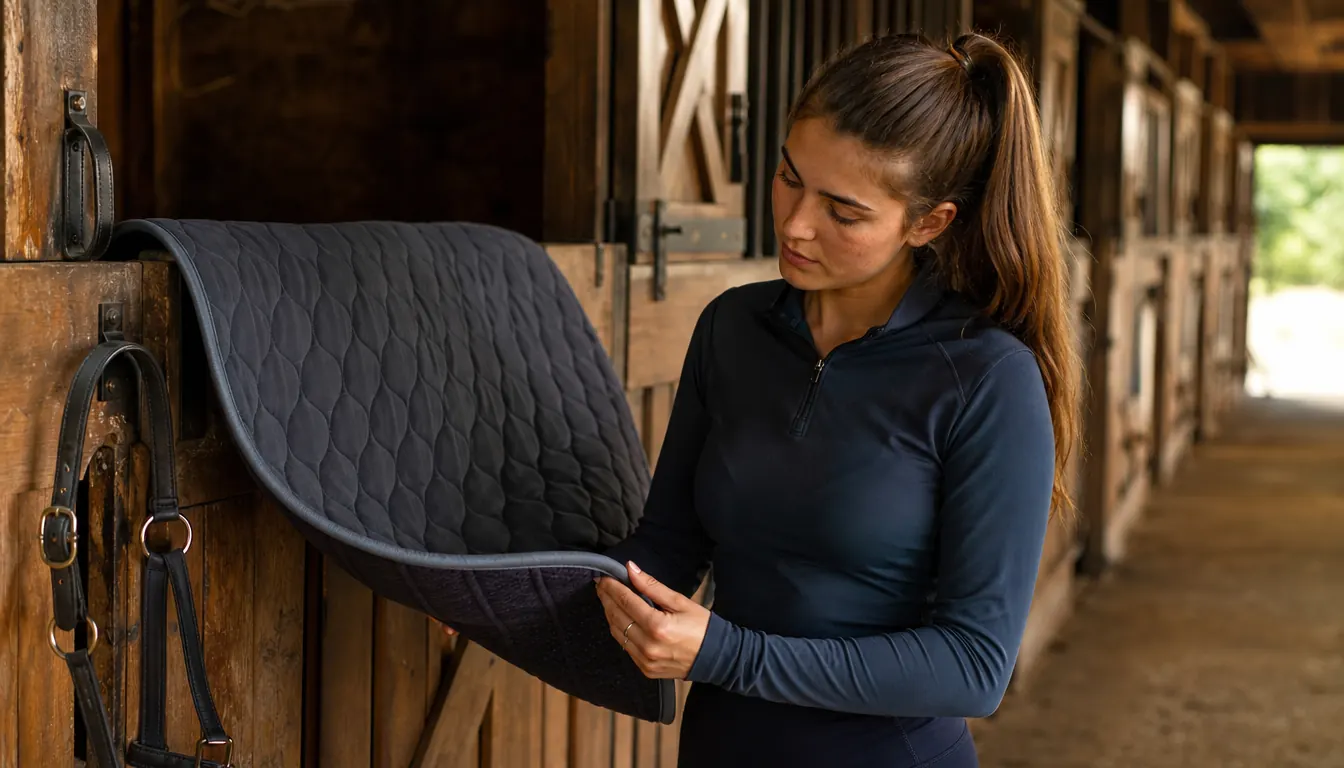
While it is flat on the ground, look at the shell. The TuffRider pad is diamond quilted on top with a flannel underside and a polyester lining, and the quilting is what keeps the fill from migrating into a lump after a dozen washings. Press the pad with your palm. It should feel like a firm, even layer, not like a bag of loose batting. If a pad already feels lumpy new, it is not going to improve under a rider.
Step 2: Set the Pad High, Then Slide It Back
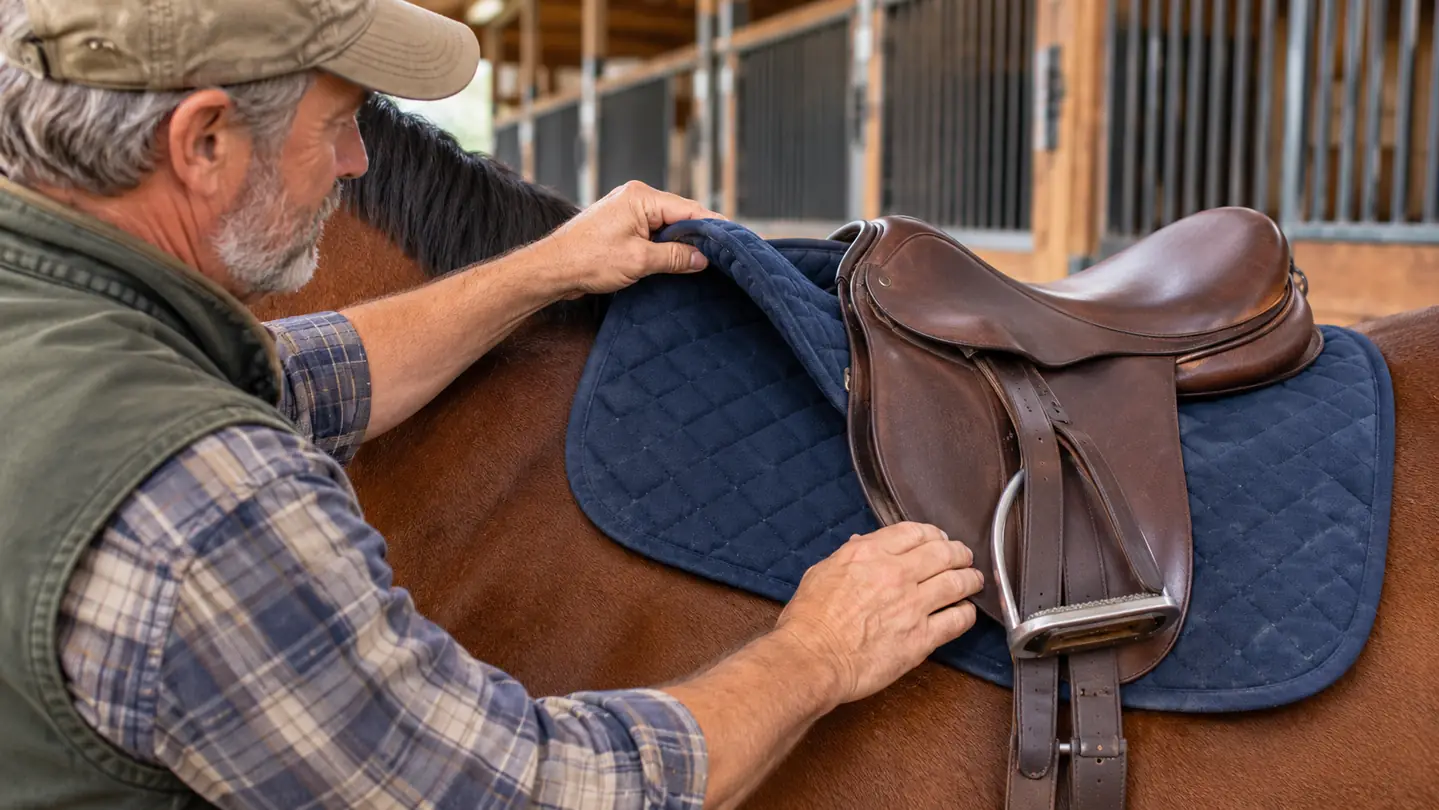
Put the pad on with the flannel side down and the front edge up over the withers, higher than where you actually want it. Then slide it back into place in the direction the hair grows. This is the one grooming rule I will defend to anyone: hair lies down one way, and a pad dragged forward against the grain leaves ruffled hair and, over enough rides, a rubbed spot. Sliding it back with the grain costs you three seconds.
Once the pad is where you want it, do not push it forward again to adjust. If it needs to come forward, lift it off, reset it high, and slide it back down. Juniper is fine about a lot of things and not fine about a pad edge being shoved uphill against her coat, and honestly she is right. Set high, slide back, hands flat on both sides so the pad ends up even. There is nothing worse than getting the saddle on and discovering the pad is an inch further back on the left side.
Step 3: Clear the Withers, the Spine and the Shoulder
Lift the front of the pad up into the gullet so there is a channel of air over the withers. This is the step people skip and it is the one that matters most. With the saddle in place, you should be able to slide two fingers between the front of the pad and the top of the withers without pushing. If the pad is flat against the withers when the saddle goes down, the saddle is going to press it there for the whole ride.
I check this in the barn aisle before I mount, every time, and there is a reason. One August morning I was rushing because a friend was already waiting at the trailhead, and I dropped the saddle on without lifting the front of the pad. Juni tossed her head on every downhill for half a mile until I got off, reset it, and felt her settle.
Next, run your hand along the spine from front to back. The pad should sit down on either side of the spine, not on it. On a wide, flat backed mare this is where a pad that is too narrow shows itself. Juniper is wide enough that a narrow pad will perch, and a perched pad is a rocking chair. You want the pad to drape, not balance.
Then check the shoulder. Pick up the front leg on the side you are standing on and pull it forward as if the horse were stretching. Watch the front corner of the pad. If the corner digs into the shoulder as the leg comes forward, the pad is too far forward or too long in the front drop, and every stride is going to push against it. Back it up an inch and check again.
Step 4: Set the Saddle Down and Read What the Pad Is Doing
Set the saddle down gently and evenly, then look at the front of the pad. If the pad has been dragged downhill into the withers by the saddle, lift the front back up into the gullet. Run the billets through and check the pad has not shifted while you did it. Then walk around to the other side and look again, because a pad can look perfect from the near side and be crooked from the off side. I have learned that one the hard way more than once.
With the saddle in place, slide your hand under the front of the panel from the side, palm up. You are feeling for wrinkles, folds and grit. Anything your hand catches on is going to be a rub at mile four. Then lead the horse out and trot her in hand on a straight line for twenty steps while a friend watches the back of the pad. If the back corners lift away from the horse in the trot, the pad is too long for that saddle, or the saddle is bridging, and neither one is fixed by a different pad.
Step 5: Ride, Then Inspect What You Find Underneath
The real test is the sweat pattern. After a ride, pull the saddle and pad and look at the underside of the pad before you brush anything off. Even, symmetrical sweat under both panels is what you want. Dry patches under a panel mean pressure, because that skin never got to breathe. Bald patches or white hairs mean long term friction and you should have a saddle fitter look at it, not a different pad.
I keep a stub of chalk in the barn and write the date on the wall when something is worth remembering, because my memory at six in the morning is not reliable and a pattern is easier to see written down. Two dry patches in the same spot three rides running is information. One dry patch on a hot day after a hard climb is probably just a hot day.
Then look at the pad itself. The flannel underside on the TuffRider holds hair, sweat and trail dust, and a dirty flannel side turns into sandpaper over time. I brush the underside out after every ride with a stiff brush, and I wash it when it starts to smell like the barn instead of like laundry. Two pads in rotation is worth more than any single upgrade, because it means you are never tacking up with a damp pad on a cool morning.
Even sweat under both panels is the only review that counts. Dry patches mean pressure, and pressure does not care how nice the pad looked in the tack room.
What Else Helps
Girth tension changes pad fit more than most people realize. A girth cranked up two holes tighter than it needs to be will drag the whole assembly forward, pad included, and then you spend the ride wondering why your horse is short-strided. On the trail I check the girth once, after the first ten minutes of walking when she has settled and breathed out, and then I leave it alone. Reaching under and cranking it tight every few miles is how you end up with a horse that resents being saddled. If it keeps loosening, that is a billet problem, not a pad problem. I also mount from a block or a rock rather than from the ground, because hauling yourself up from the ground pulls the saddle and the pad sideways every single time.
Keep trail conditions in mind. Mud season means the pad picks up grit along the bottom edge, and grit is what rubs. A quick brush before you tack up costs less than treating a raw spot for a week. On wet days I check the pad again at the halfway point of a ride, because a wet pad behaves differently than a dry one and can start to bunch where it did not bunch on the way out. And if the horse has lost or gained weight over the season, refit everything. A pad that fit in April is not guaranteed to fit in October.
Finally, know what is not a pad problem. White hairs under the panel, a horse that flinches when you reach for the girth, a back that is sore to thumb pressure, or a change in attitude about being saddled are all questions for a veterinarian or a qualified saddle fitter. I am not either one and I am not going to pretend otherwise on the internet. The TuffRider Basic All Purpose pad does its job, which is to give you an even, breathable layer between the panel and the horse. It cannot fix a saddle that does not fit, and no pad can.
Ten minutes of fitting now beats a sore back at mile six
The TuffRider Basic All Purpose pad is the one I tack up with most mornings: diamond quilted, flannel against the horse, and shaped for a standard all purpose panel. Pair it with a proper withers check and a look at the sweat pattern after every ride.
Amazon Check Today's Price on Amazon →